Welcome to Physicks. This guide walks you through everything you need to create your first interactive physics composition and embed it on your WordPress site — from installation to publication, in about 10 minutes.
What you’ll need
Before you begin:
- A WordPress site running version 5.8 or newer.
- Administrator access to install and activate plugins.
- A page or post where you want to embed your composition.
That’s all. No coding knowledge required.
1. Install the Plugin
There are two ways to install Physicks, depending on which plan you’re using.
Free version
- In your WordPress admin, go to Plugins → Add New.
- Search for Physicks.
- Click Install Now, then Activate.
You’ll see a new Physicks menu in the admin sidebar.
Pro or Business version
- After purchasing, you’ll receive an email with a download link to a
.zipfile and your license key. - In your WordPress admin, go to Plugins → Add New → Upload Plugin.
- Choose the
.zipfile and click Install Now, then Activate. - Go to Physicks → Settings, paste your license key, and click Activate.
You’ll see your plan badge change from FREEto PRO or BUSINESS.
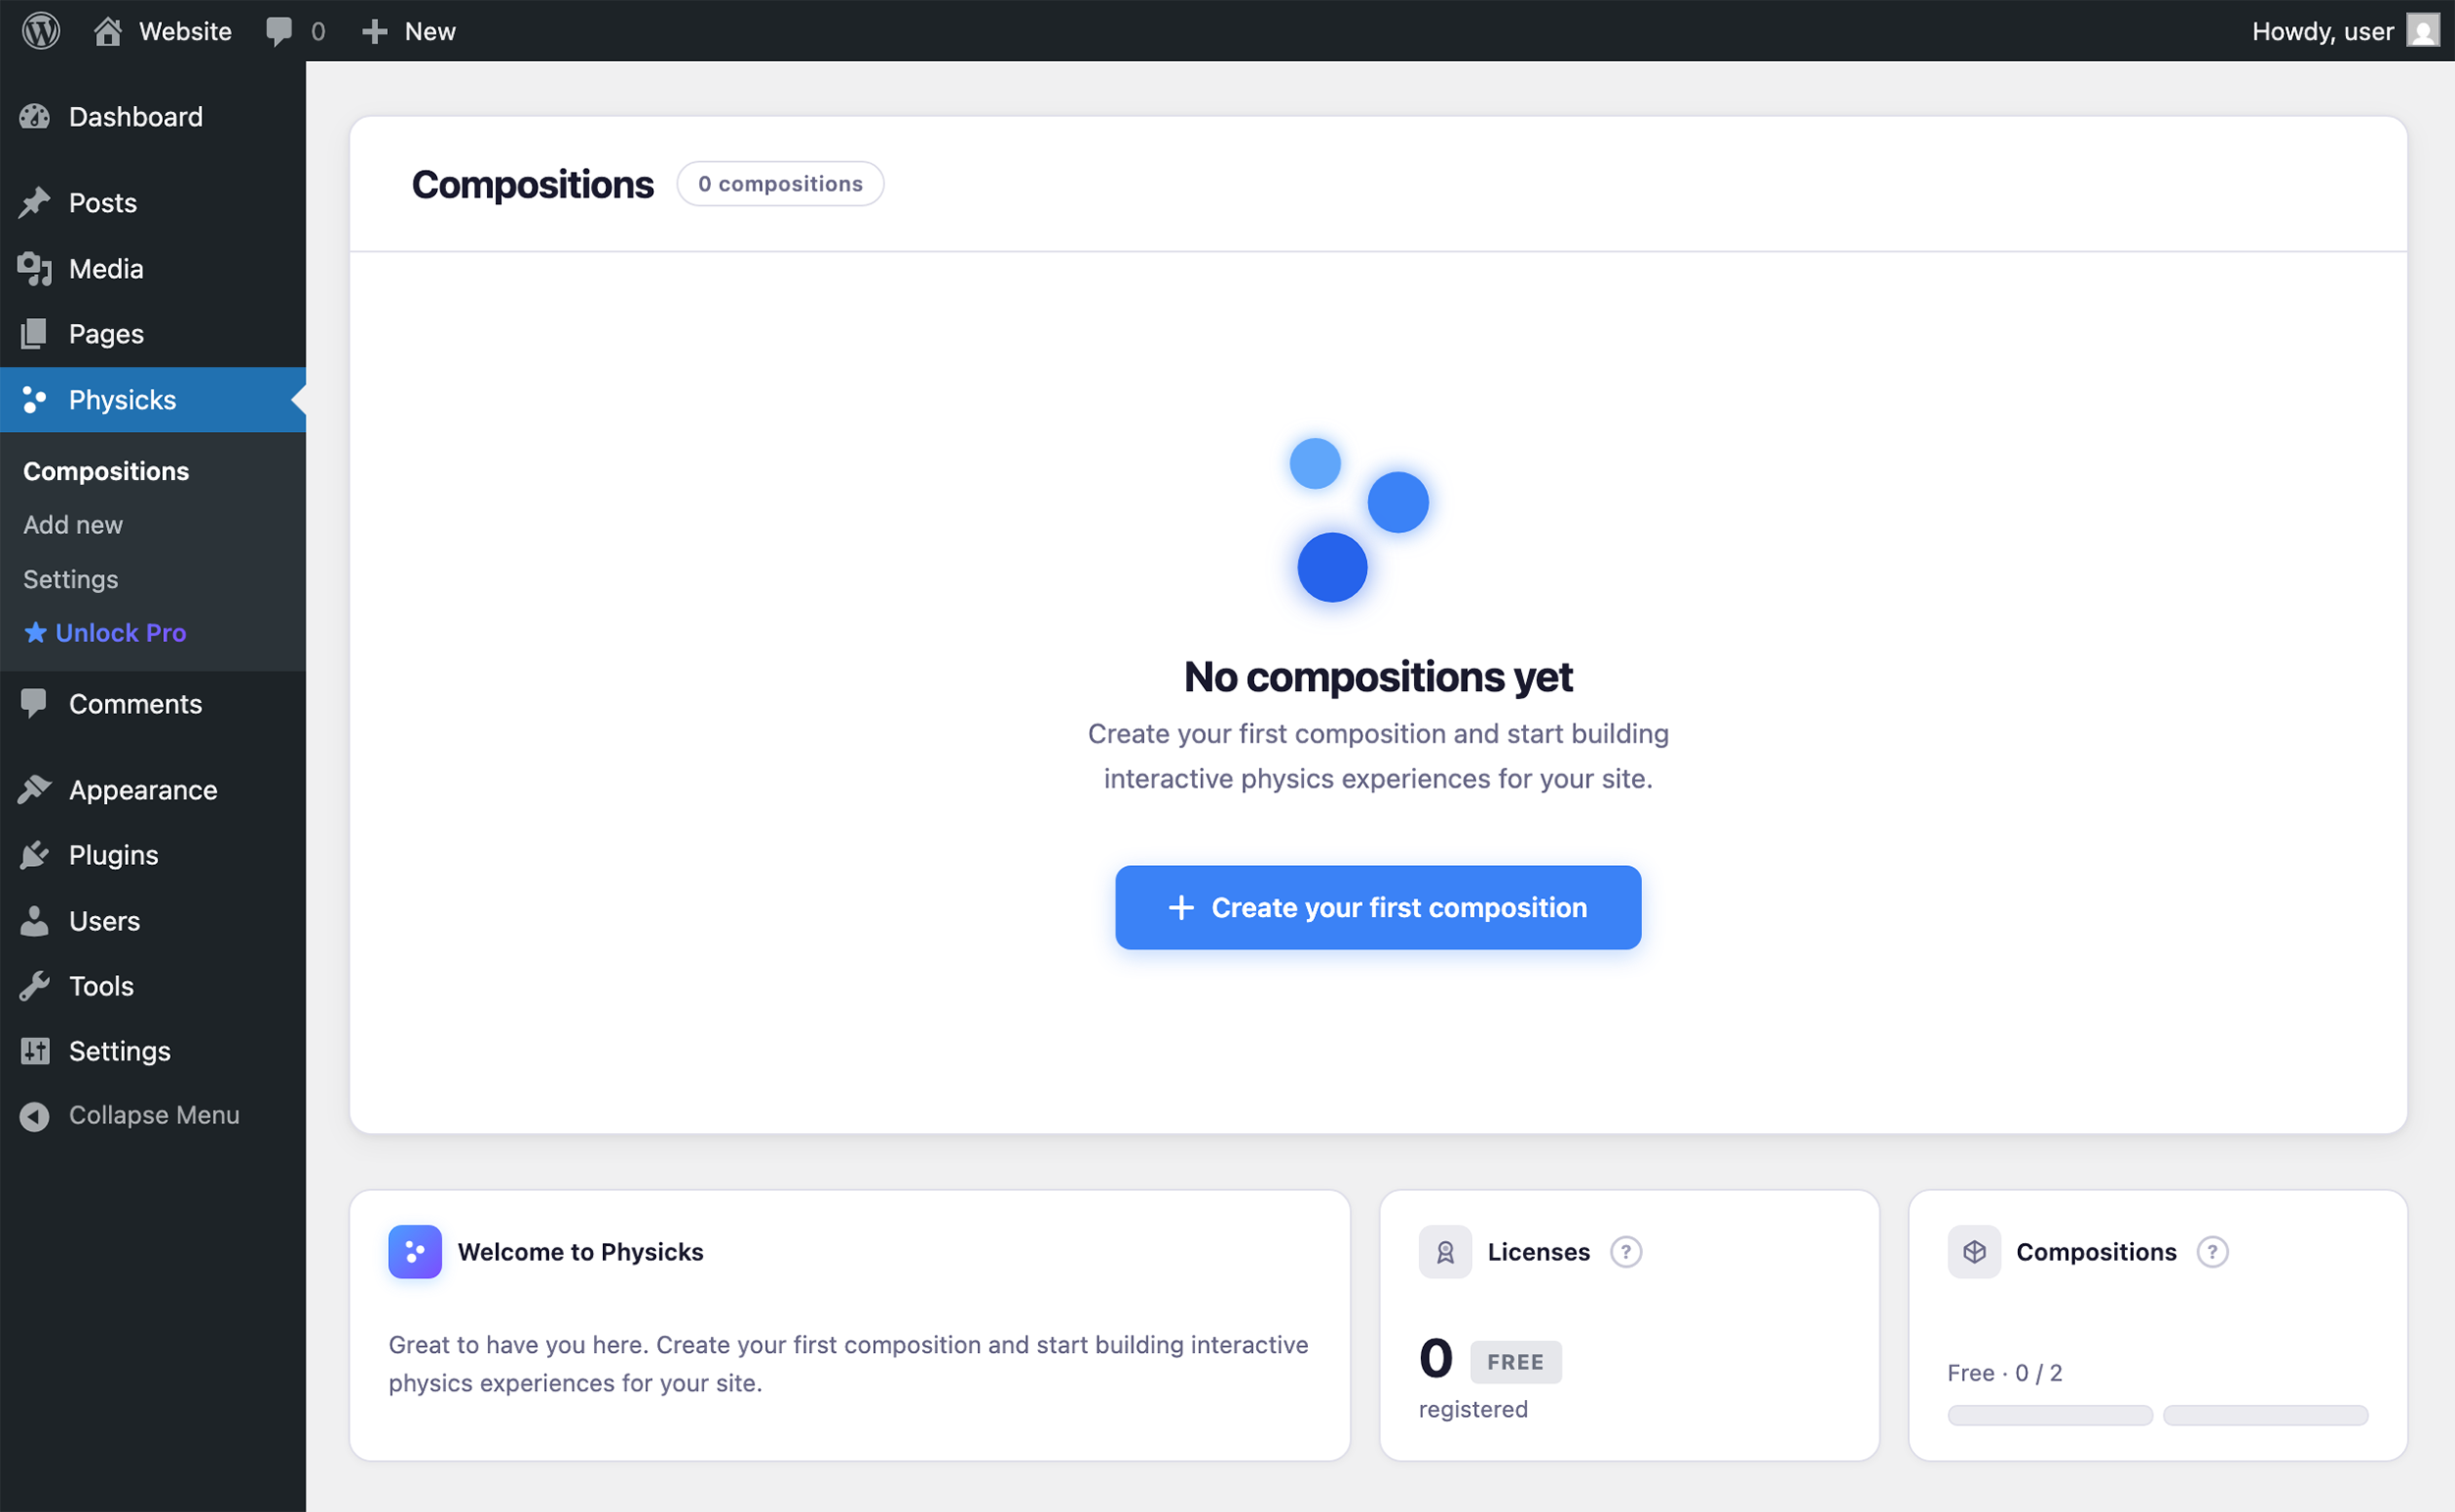
Physicks → Add New — Opens the template gallery to create a new composition.
2. Create your first composition
- In the admin sidebar, click Physicks → Add New.
- You’ll see a gallery of templates. Pick the one that best matches what you want to build. The Free version includes Blank Canvas, Falling Objects, Bouncing Balls, and Click to Drop. Physicks Pro adds Floating Bubbles, Collision Arena, Magnetic Cursor, Image Gallery, and Text Cloud:
- Falling Objects — objects fall from the top of the canvas.
- Floating Bubbles — objects drift gently across the screen.
- Collision Arena — objects bounce off each other and the canvas borders.
- Bouncing Balls — objects start with motion and bounce naturally.
- Click to Drop — objects fall when the visitor clicks.
- Magnetic Cursor — objects react to the visitor’s mouse.
- Image Gallery — display images that respond to physics.
- Text Cloud — words behave as physical objects.
- Blank Canvas — start completely from scratch.
- Click on a template to enter the editor with that configuration pre-loaded.
If you’re not sure where to start, Falling Objects is a great first template — it’s visually striking and easy to customize.
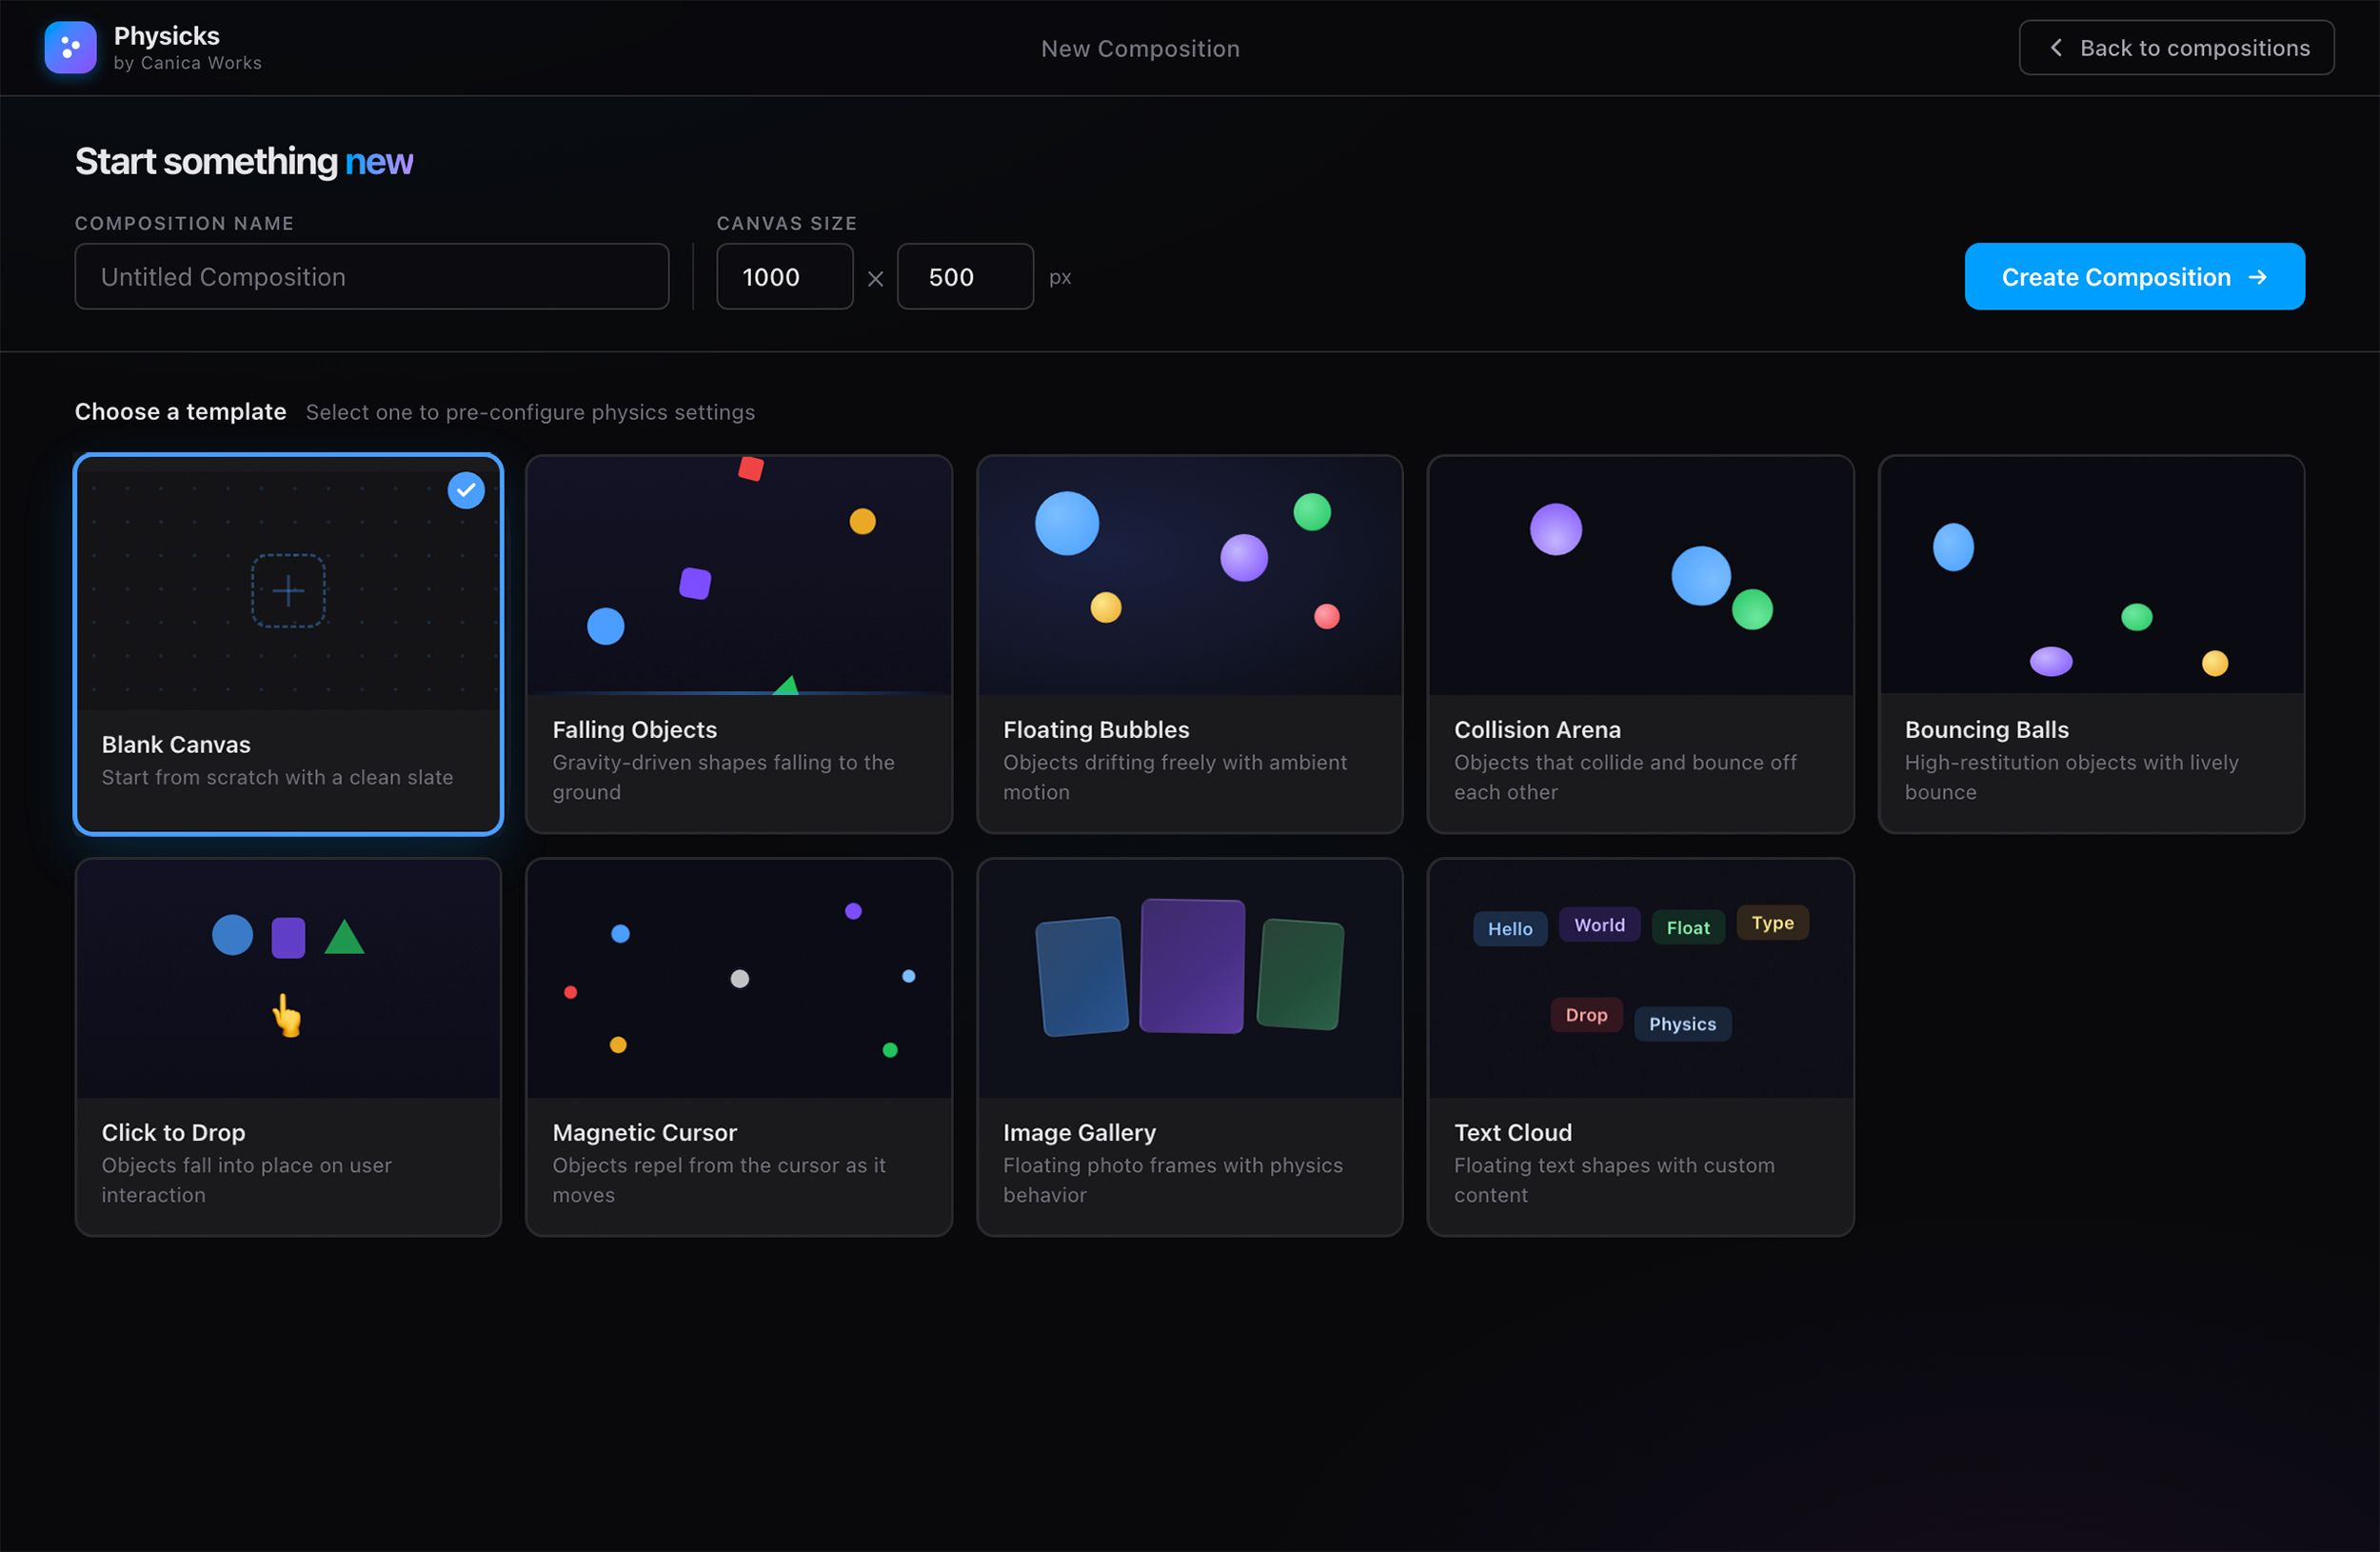
Click on a template to enter the editor with that configuration pre-loaded.
3. Customize your composition
Once you’re in the editor, you can:
- Add objects by clicking the
+button in the top toolbar. - Move objects by dragging them on the canvas.
- Resize and rotate using the handles around a selected object.
- Edit properties of any object using the panel on the right (shape, colors, borders, behavior).
- Adjust physics for the entire composition using the panel at the bottom (gravity, bounce, friction, collisions).
To preview the result, click the Play button in the top toolbar. The simulation runs live inside the editor, so you can see how your composition behaves before publishing.
For a complete tour of the editor, see the Editor Overview.
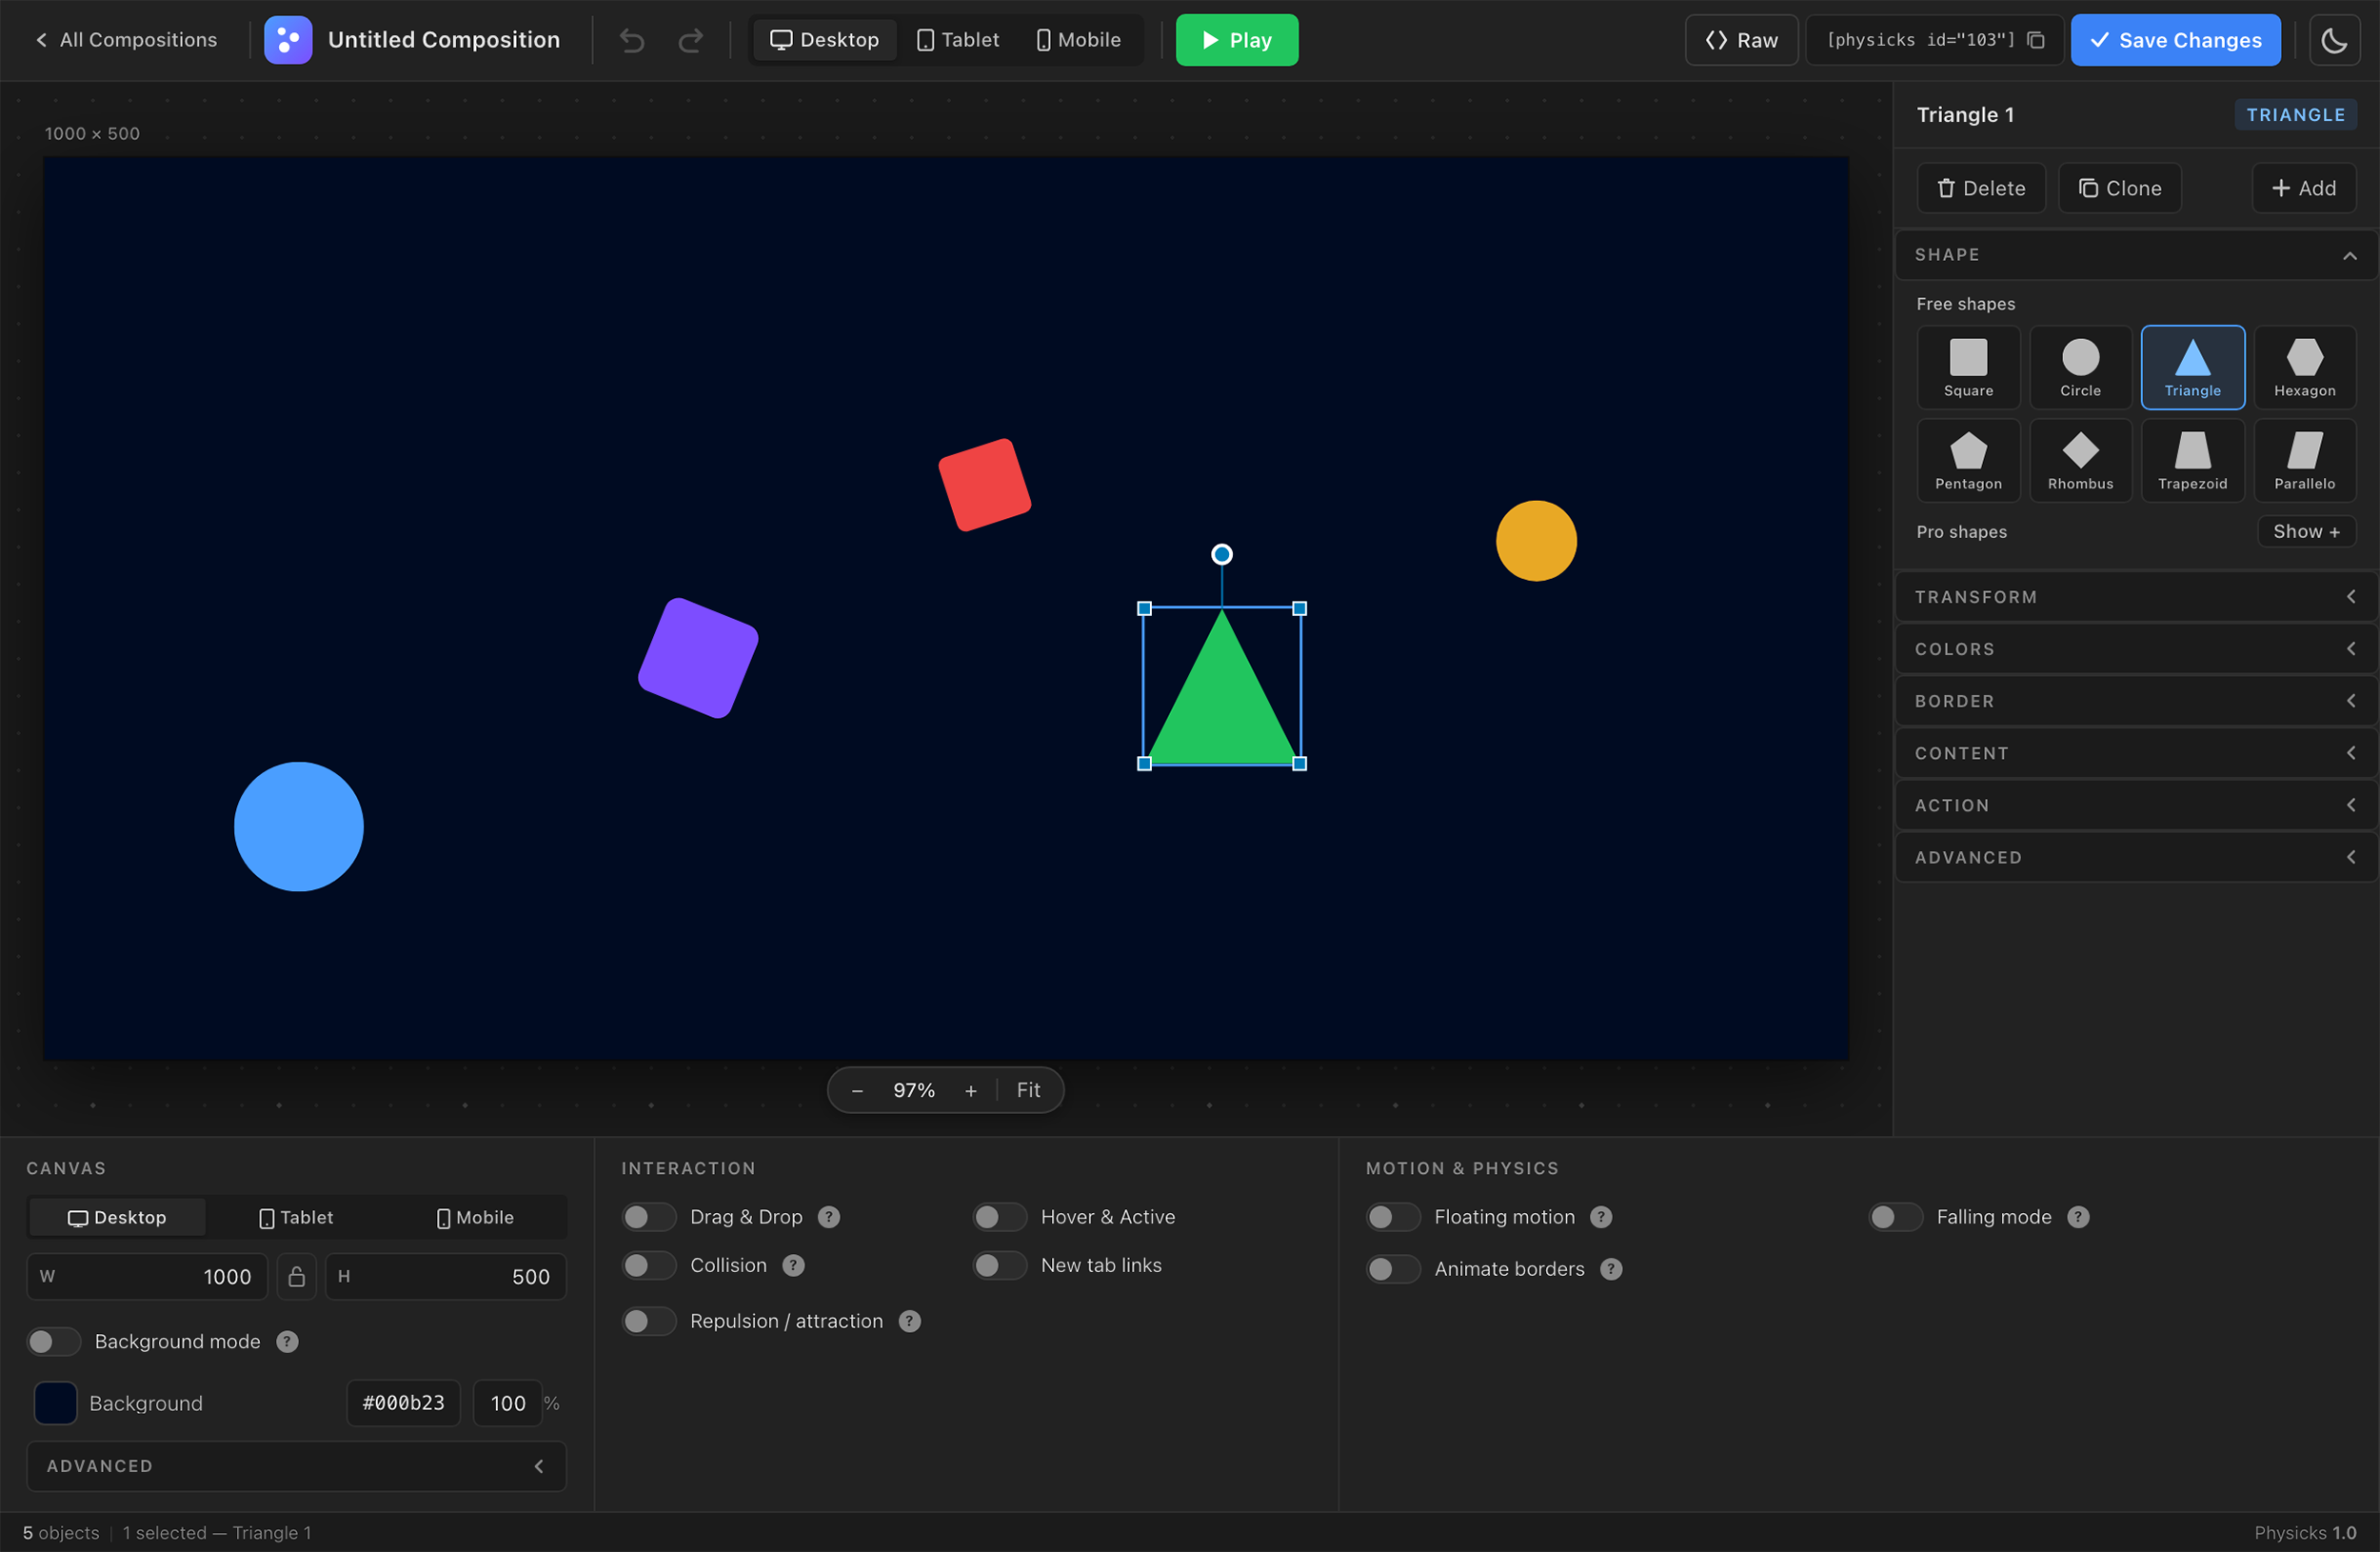
Editor view
4. Save your composition
When you’re happy with the result, click Save in the top toolbar.
Your composition is now stored in your WordPress site and ready to be embedded anywhere.
After saving, you’ll see a unique shortcode for your composition near the title, in the format:
[physicks id="123"]
Copy this shortcode — you’ll use it in the next step.
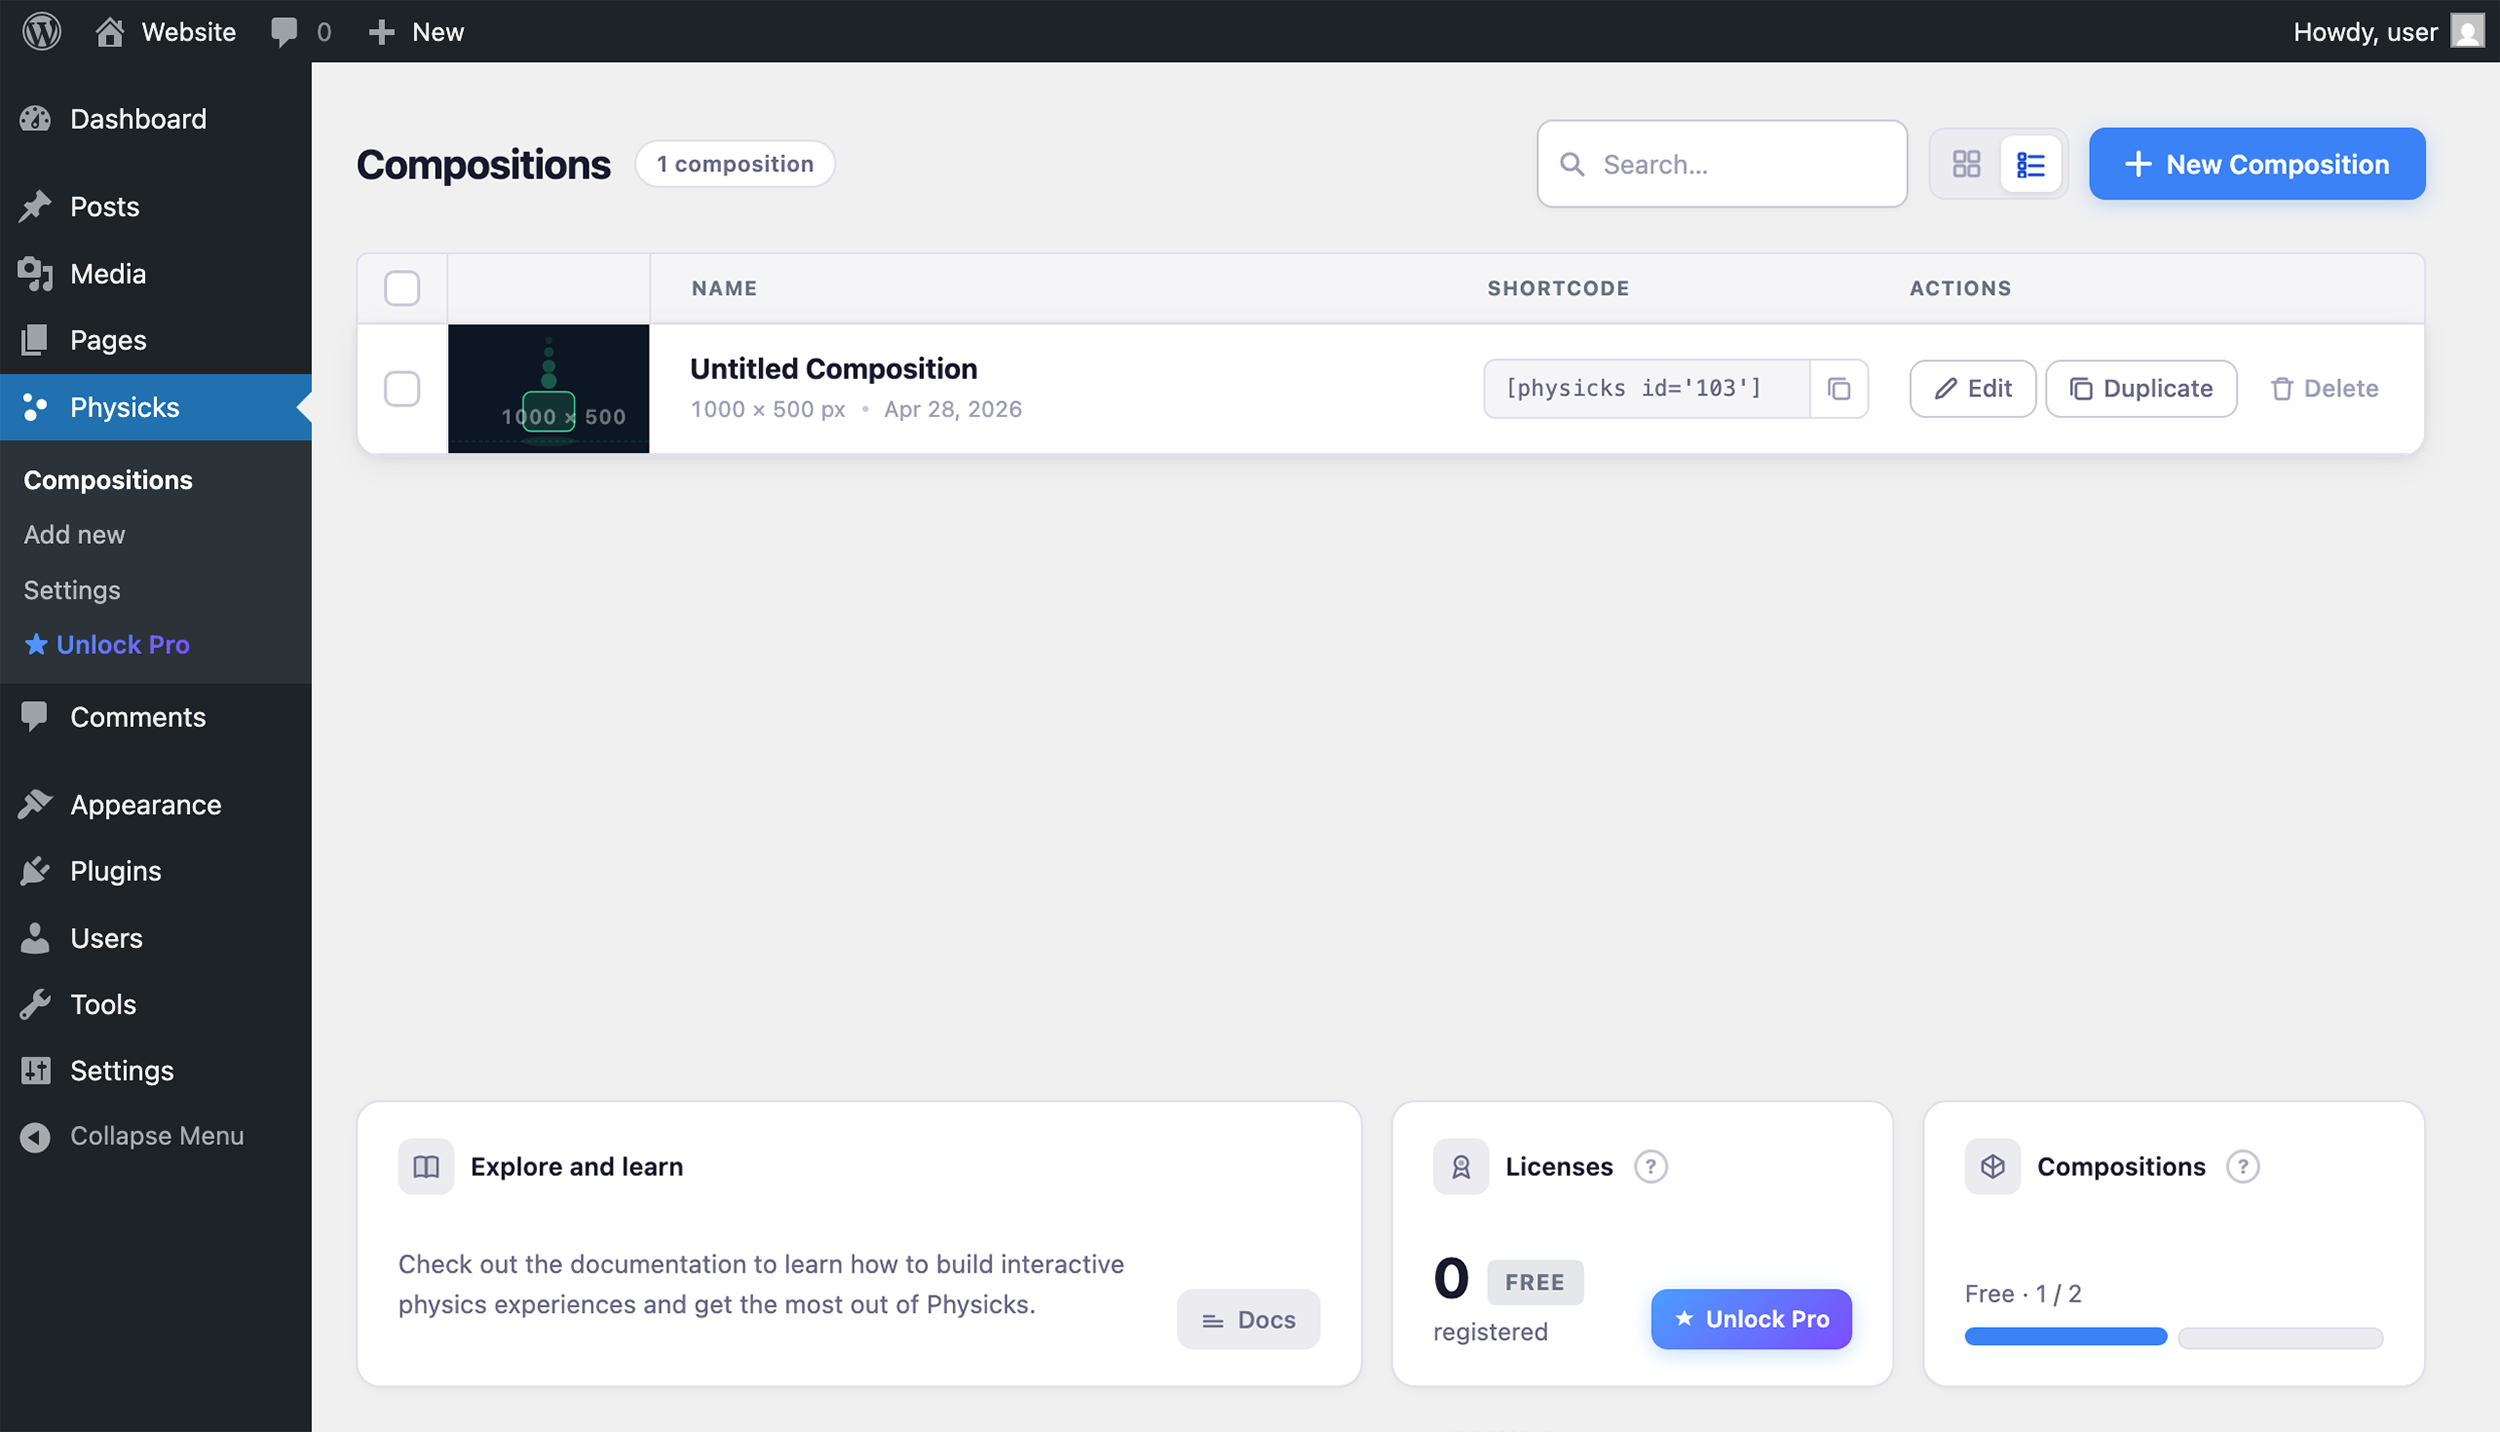
Compositions list
5. Embed it on a page
There are three ways to embed your composition. Pick the one that fits your workflow.
Using the shortcode
- Open the page or post where you want the composition to appear.
- Paste the shortcode
[physicks id="123"] - Save or update the page.
That’s it — visit your page on the frontend and your composition will be there, fully interactive.
Using the Gutenberg block
- In the WordPress block editor, click the + to add a new block.
- Search for Physicks and select it.
- Choose your composition from the dropdown.
- Save the page.
Using a page builder (Elementor, WPBakery, etc.)
Use the shortcode method. Most page builders include a “Shortcode” widget or element where you can paste [physicks id="123"]
A Physicks composition embedded in a WordPress page hero section — fully interactive for visitors.
6. Make it responsive (optional)
If your composition needs to look different on tablet or mobile, switch to the corresponding view in the editor (Desktop / Tablet / Mobile toggle in the top toolbar) and adjust positions, sizes, or colors as needed.
Each breakpoint can have its own layout while sharing the same underlying objects. Learn more in the Responsive Design guide.
What’s next?
Now that you’ve published your first composition, here’s where to go next:
- Editor Overview — Master every panel and option in the editor.
- Templates — Discover what each of the 8 templates does and when to use it.
- Embedding Compositions — Advanced embedding scenarios.
- Responsive Design — Build experiences that work on every screen size.
- FAQ — Quick answers to common questions.
If you run into any issues, contact us at support@physicks.pro. We’re happy to help.
Getting Started
← Previous
Introduction